Getting started
To create a new letter in Pixcraft Builder, select Emails from the menu:
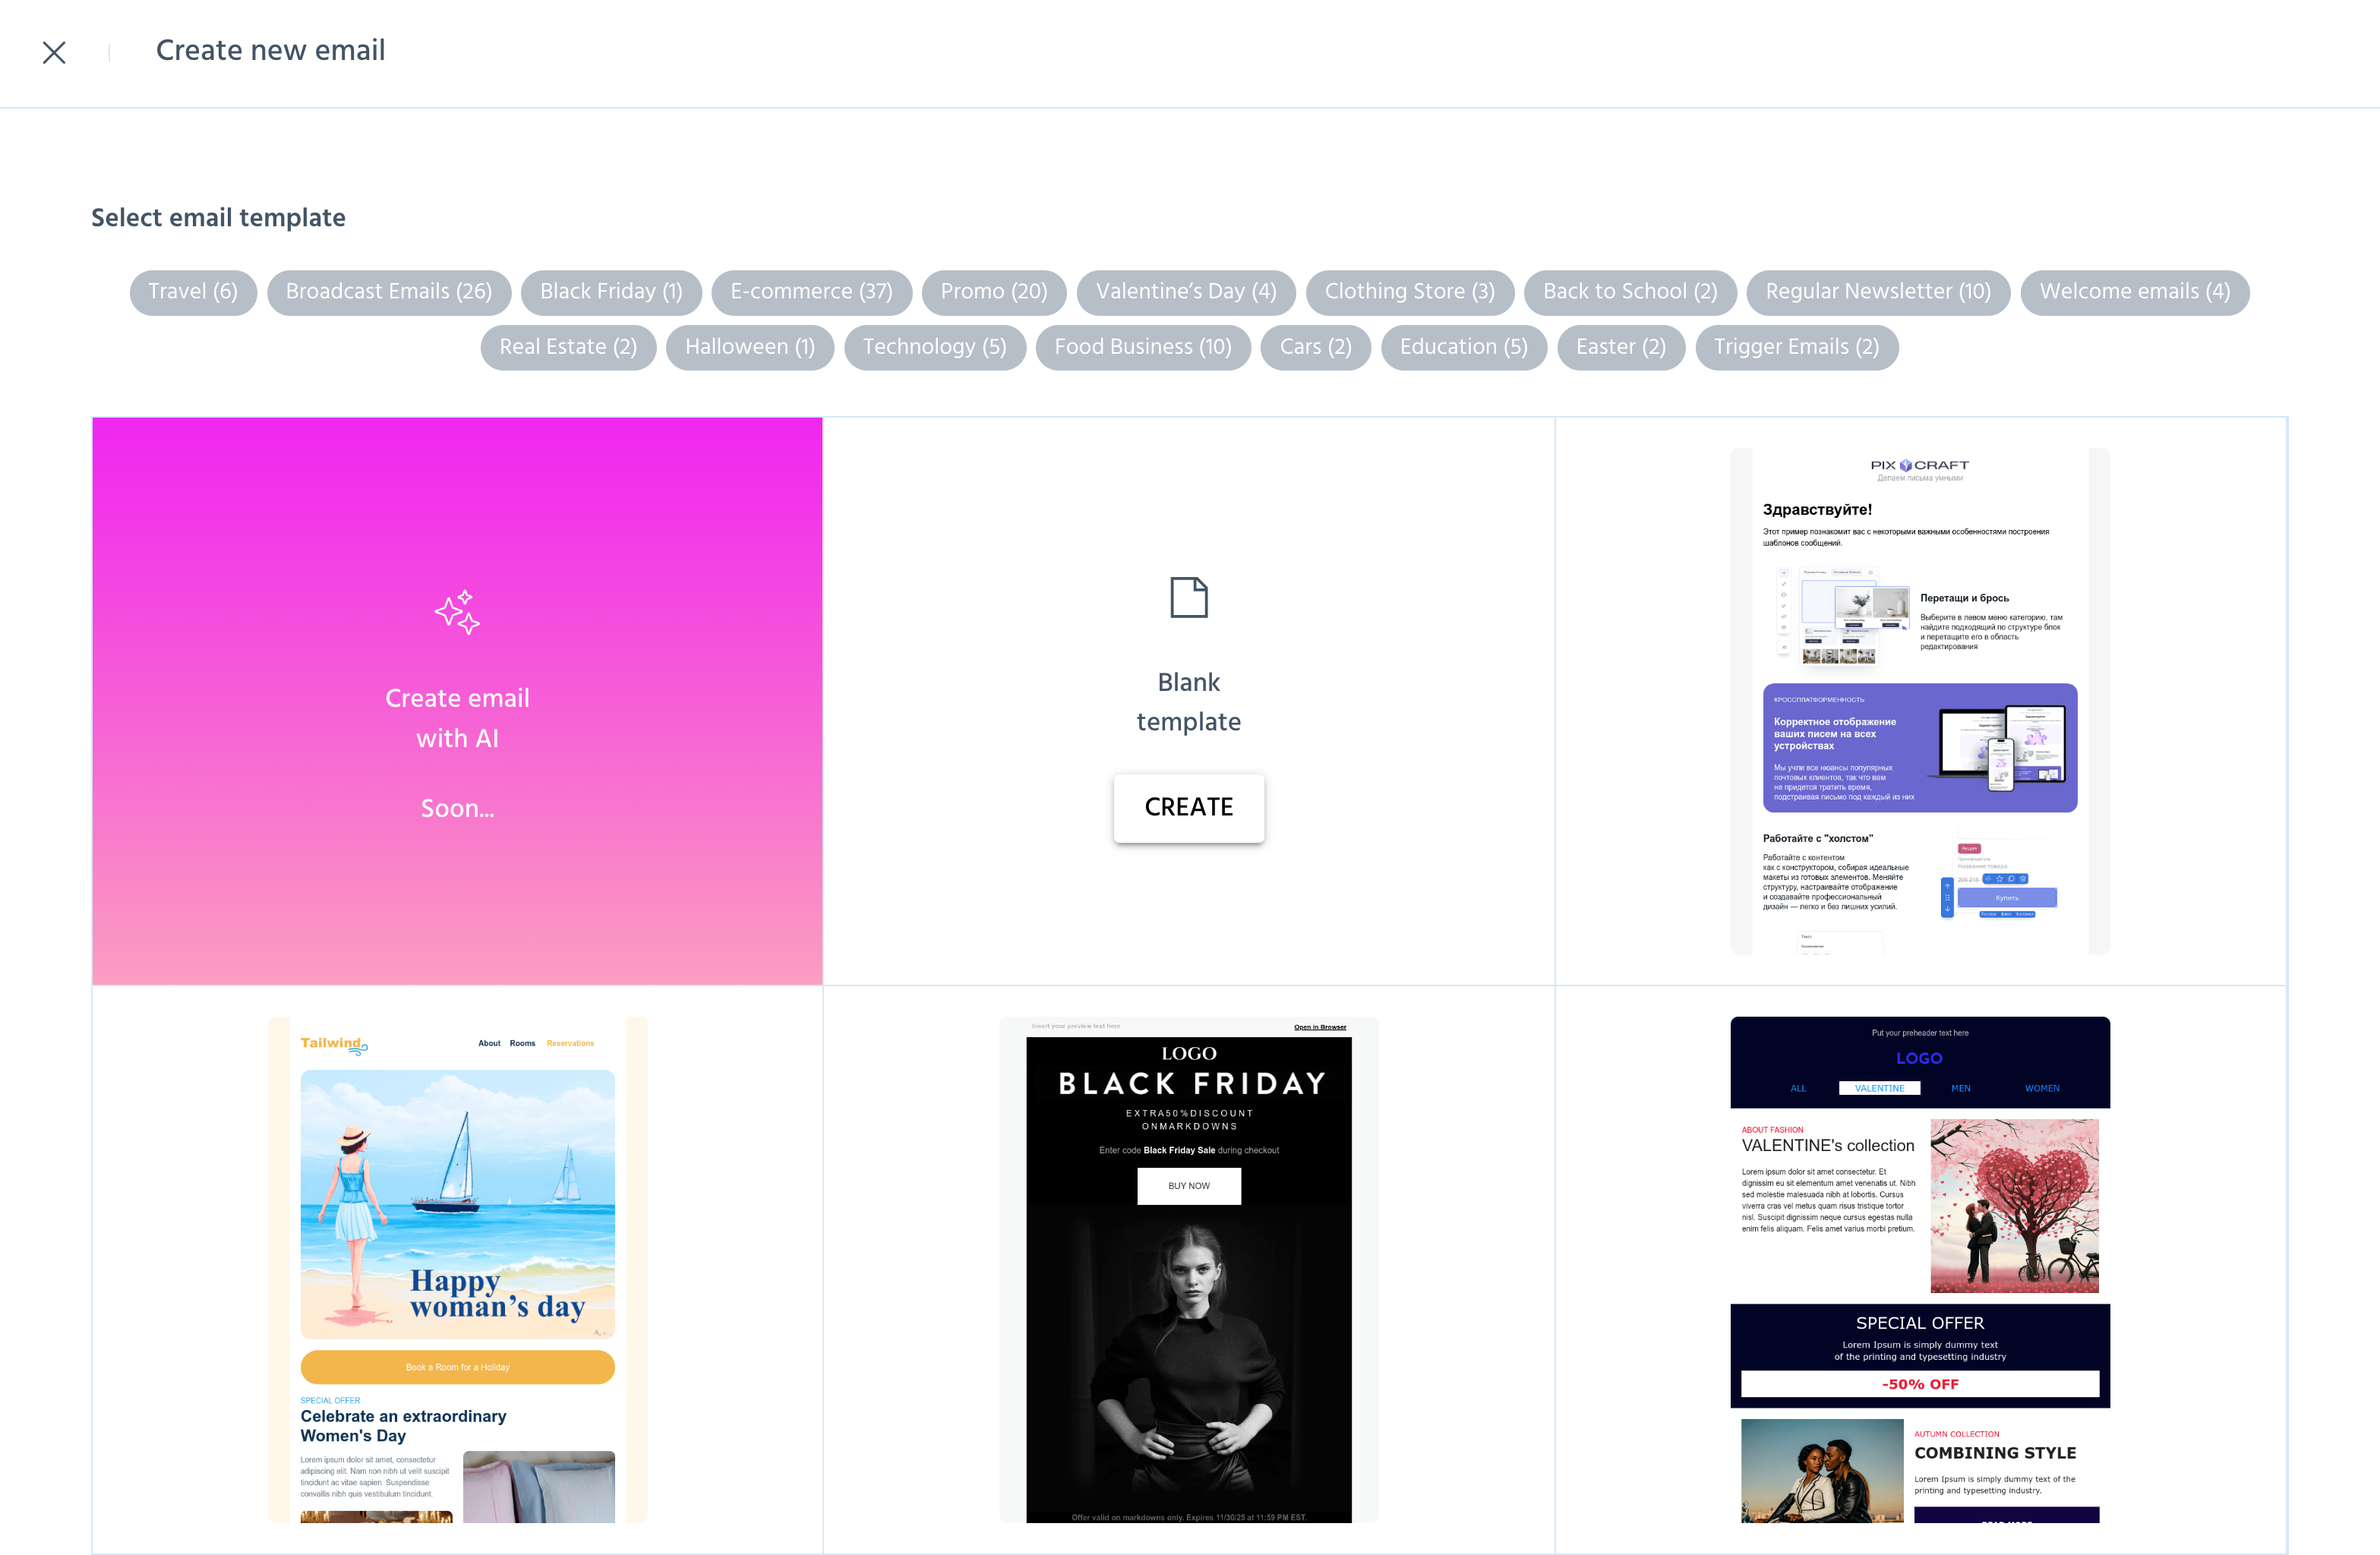
To create a new template, click + New Email. You can also choose one of the ready-made templates or start with a blank layout.
Interface
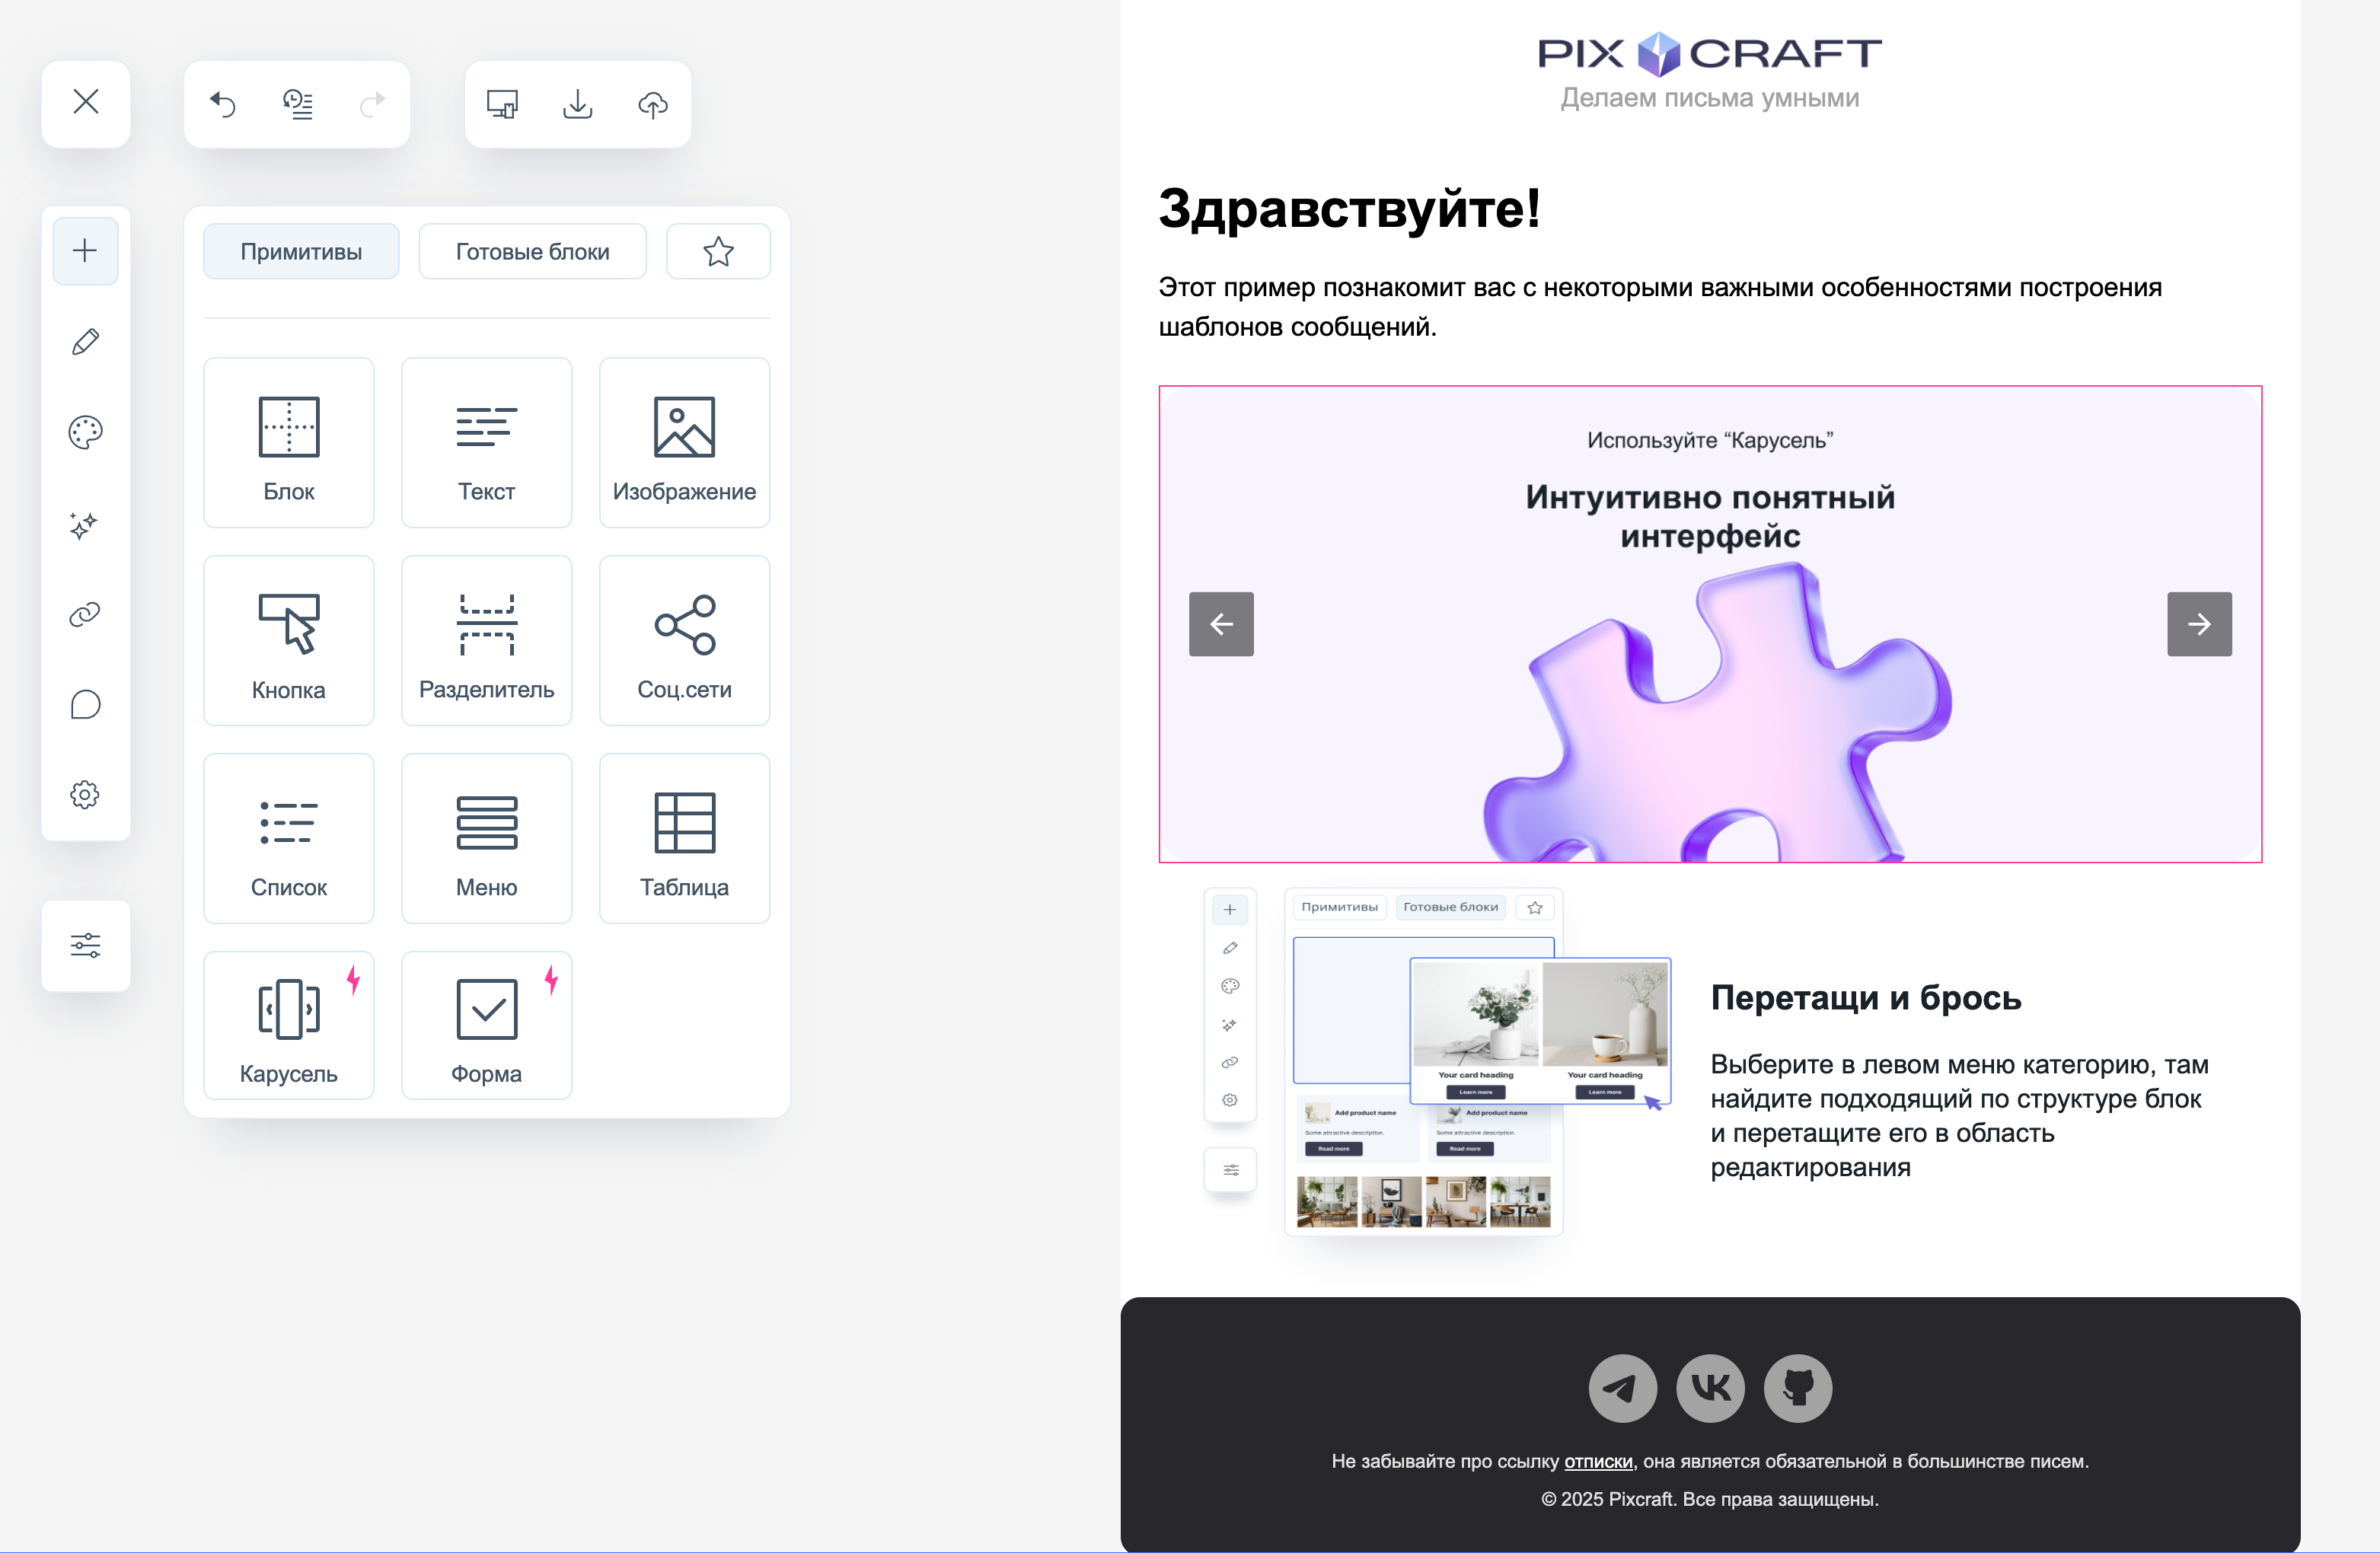
The editor interface consists of two main parts: the toolbar and the editing area.
The toolbar contains tools and blocks that can be added to the template.
The editing area displays the letter itself — this is where you can visually build and customize the content.
Toolbar
The toolbar contains the following controls:
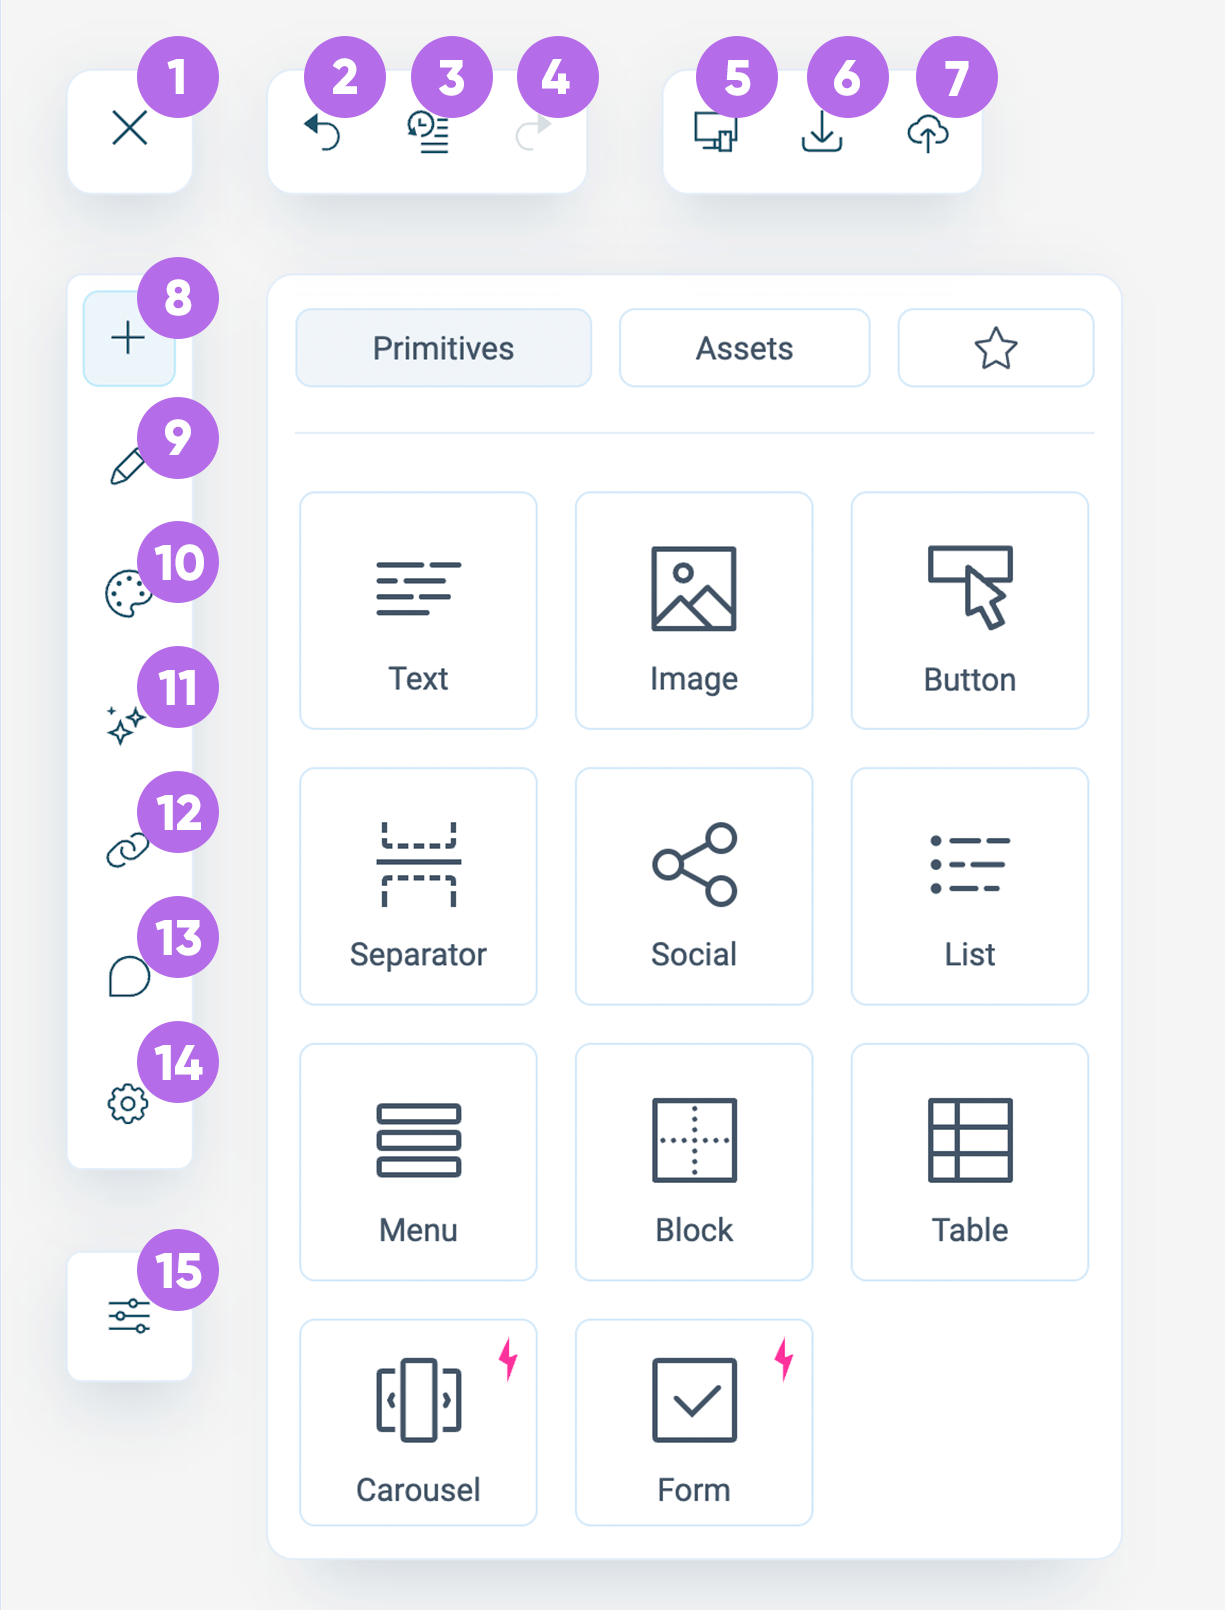
- Close — closes the current template and returns to the main menu;
- Undo — undoes the last action performed;
- Action history — opens a list of all changes, allowing you to return to any previous version;
- Redo — repeats the previously canceled action;
- Preview — opens the template in preview mode to see how the email will look to the recipient;
- Download — opens the export menu, where you can select the template export format: ZIP archive, HTML, AMP, EML, or export to ESP;
- Save template — saves the current version of the letter in the PixCraft project.
- Add — opens the menu of primitives and ready-made blocks for insertion into the template;
- Edit — allows you to change the content and structure of the selected block;
- Styles — a panel for customizing the template design;
- AI tools — coming soon;
- Link map — displays all links used in the template for review and editing;
- Comments — adds and views comments on template elements for collaboration;
- Settings — settings for the theme and email preheader;
- Options — general editor options (interface theme and property panel position).
Editing Area
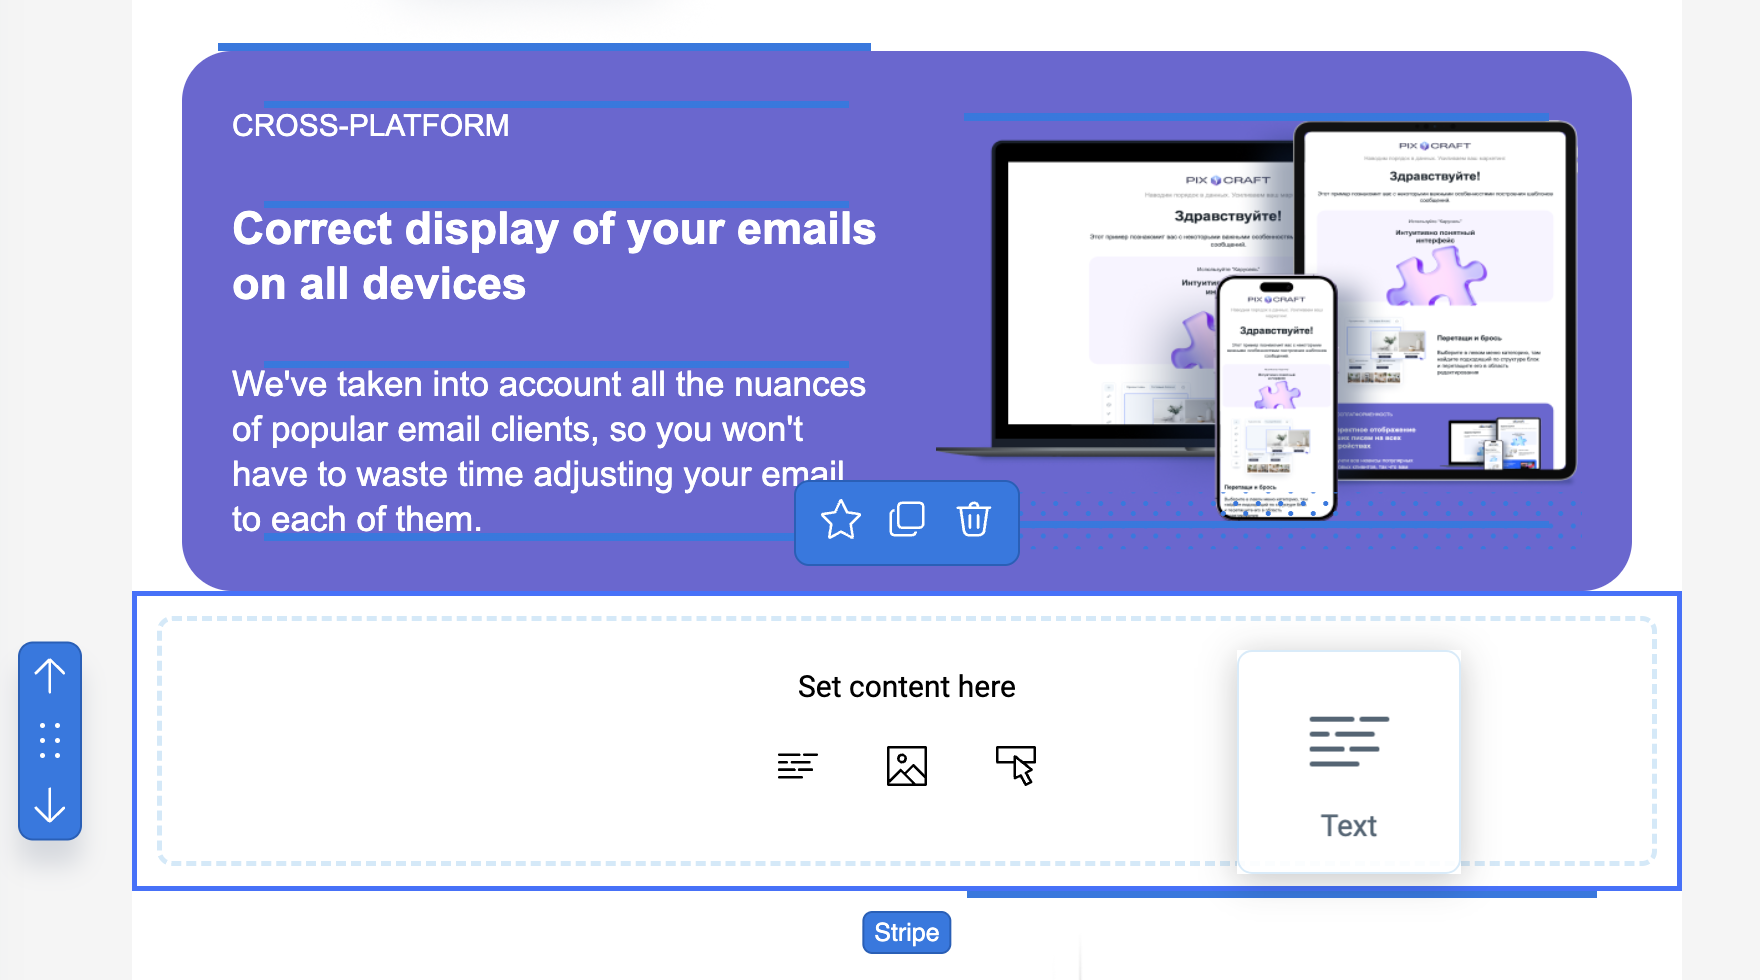
The main part of the editor where the email is assembled. Blocks can be dragged here from the toolbar. Each element is outlined and can be modified directly.