Analytics
In the Analytics section, you can track campaign statistics: email opens, reading time, and cohort retention.
Creating a campaign
To create a campaign, go to the Analytics section, click + New campaign, enter a name, and click Create.
The analytics page will open with charts and statistics:
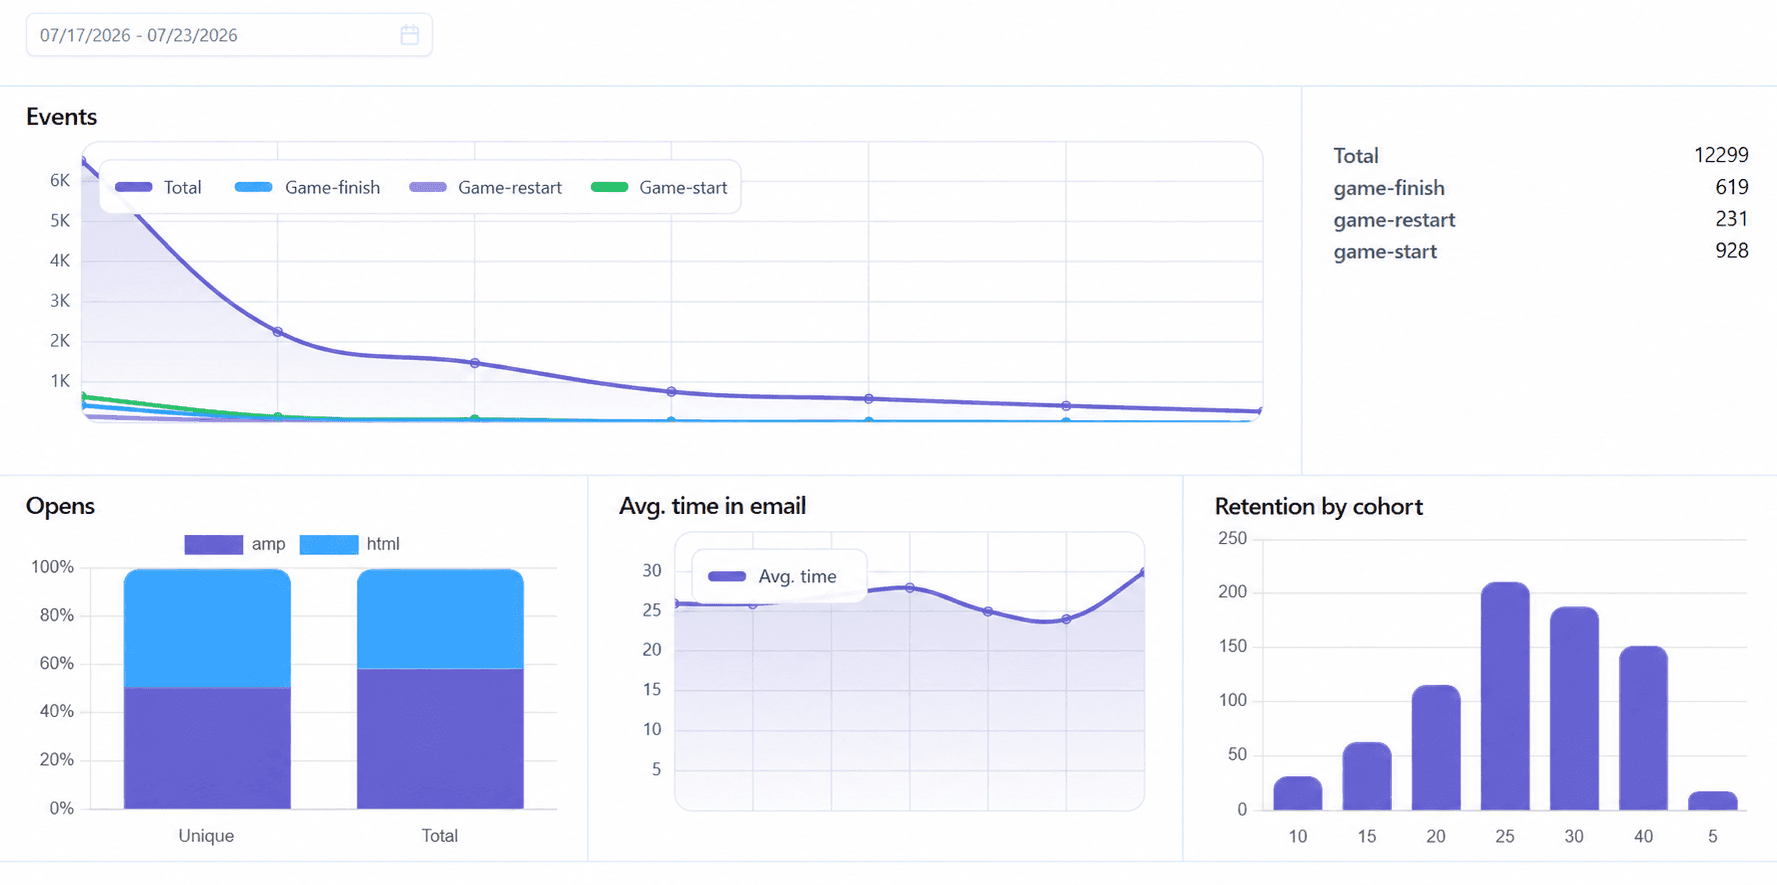
- Events — total number of events;
- Opens — number of email opens;
- Average time in email — average time recipients spend in the email;
- Cohort retention — audience retention data.
Connecting tracking
To collect statistics, you need to add tracking to the email. On the campaign page, in the Connection tab, tracking codes are available for insertion.
TIP
When configuring event tracking, replace the cid parameter with a unique subscriber identifier. This value can be an MD5 hash of the subscriber's email address, a contact ID from your ESP/CDP, or any other unique identifier that allows events to be associated with a subscriber without exposing personally identifiable information (PII).
For example, when using the Altcraft CDP platform, use the {lead._md5} variable.
Open tracking
HTML
For the HTML version of the email, insert the following code:
<img src="https://app2.pixcraft.io/trk/trk/?trkid={trkid}&e=view&ea=html&cid={lead._md5}" alt="" width="1" height="1" />AMP
For the AMP version of the email, insert the following code:
<div style="overflow:hidden;height:1px;width:1px;position:absolute;top:0;left:0;">
    <amp-img src="https://app2.pixcraft.io/trk/trk/?trkid={trkid}&e=view&ea=amp&cid={lead._md5}" alt="" width="1" height="1"></amp-img>
</div>
Time tracking
Time tracking only works for the AMP version of the email. Insert the following code:
<div style="overflow:hidden;width:10px;position:absolute;top:0;left:0;">
<amp-carousel class="timetracker" height="2" width="2" type="slides" autoplay="1" delay="1000">
    <div></div><div></div>
    <div><amp-img src="https://app2.pixcraft.io/trk/trk/?trkid={trkid}&e=time&ev=1&cid={lead._md5}" width="1" height="1" alt=""></amp-img></div>
    <div></div>
    <div><amp-img src="https://app2.pixcraft.io/trk/trk/?trkid={trkid}&e=time&ev=3&cid={lead._md5}" width="1" height="1" alt=""></amp-img></div>
    <div></div>
    <div><amp-img src="https://app2.pixcraft.io/trk/trk/?trkid={trkid}&e=time&ev=5&cid={lead._md5}" width="1" height="1" alt=""></amp-img></div>
    <div></div>
    <div><amp-img src="https://app2.pixcraft.io/trk/trk/?trkid={trkid}&e=time&ev=10&cid={lead._md5}" width="1" height="1" alt=""></amp-img></div>
    <div></div>
    <div><amp-img src="https://app2.pixcraft.io/trk/trk/?trkid={trkid}&e=time&ev=15&cid={lead._md5}" width="1" height="1" alt=""></amp-img></div>
    <div></div>
    <div><amp-img src="https://app2.pixcraft.io/trk/trk/?trkid={trkid}&e=time&ev=20&cid={lead._md5}" width="1" height="1" alt=""></amp-img></div>
    <div></div>
    <div><amp-img src="https://app2.pixcraft.io/trk/trk/?trkid={trkid}&e=time&ev=25&cid={lead._md5}" width="1" height="1" alt=""></amp-img></div>
    <div></div>
    <div><amp-img src="https://app2.pixcraft.io/trk/trk/?trkid={trkid}&e=time&ev=30&cid={lead._md5}" width="1" height="1" alt=""></amp-img></div>
    <div></div>
    <div><amp-img src="https://app2.pixcraft.io/trk/trk/?trkid={trkid}&e=time&ev=40&cid={lead._md5}" width="1" height="1" alt=""></amp-img></div>
    <div></div>
</amp-carousel>
</div>
Custom events
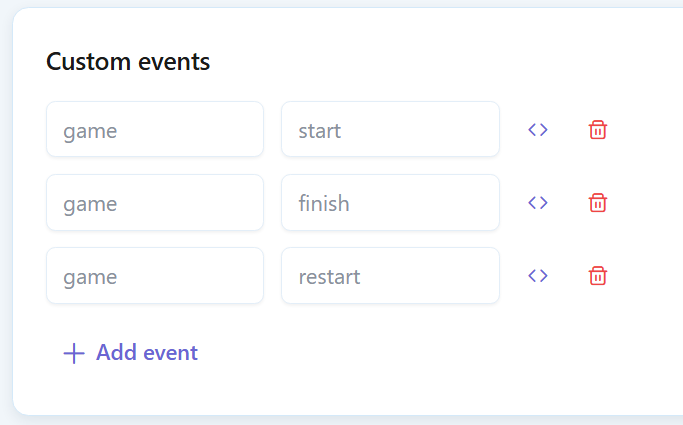
In the Connection tab, you can add custom events to track specific actions. Click + Add event, specify Name and Action.